Opening — the problem that won’t stop costing your practice
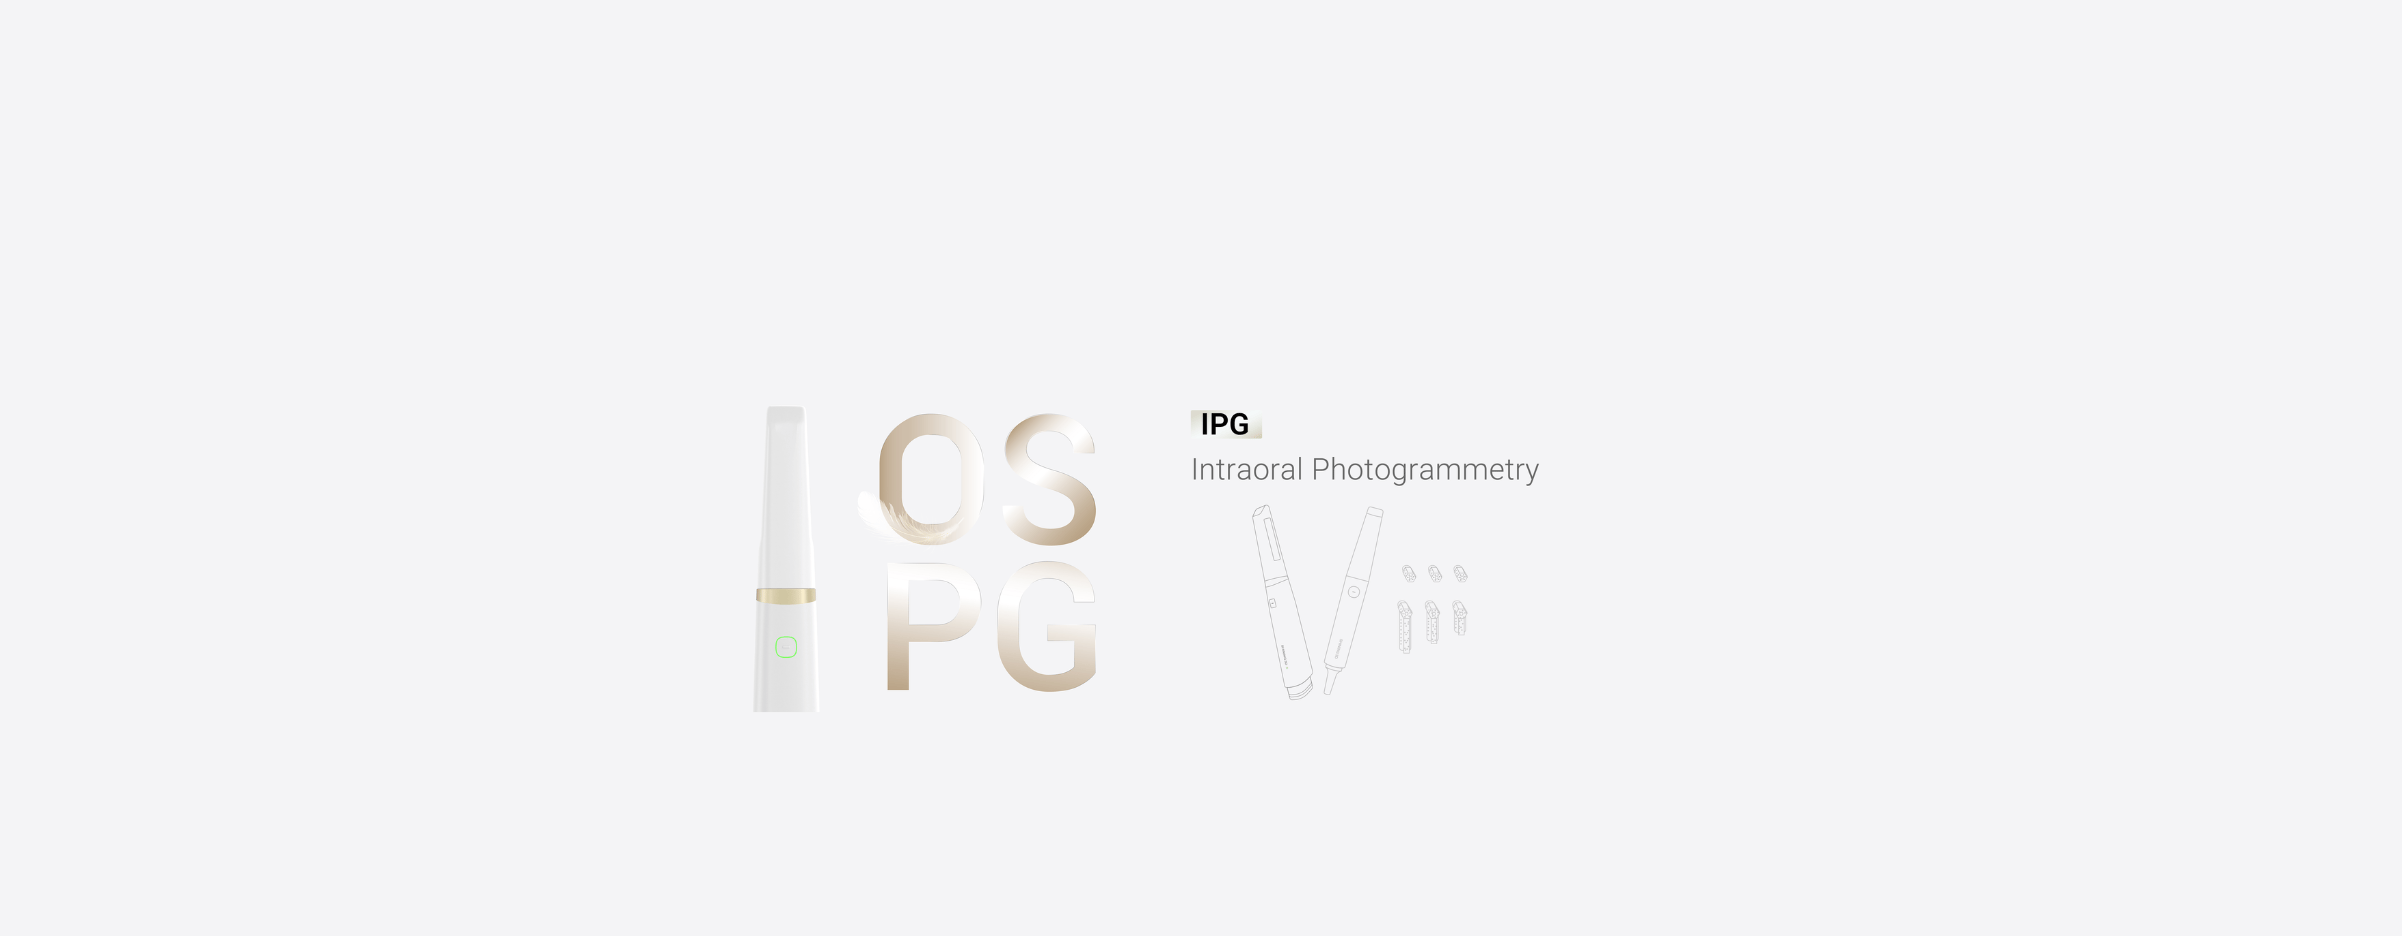
Every practice loses time and trust to ill-fitting implant prosthetics: extra appointments, remakes, and unclear handoffs between clinician and lab. I’ve watched that waste pile up and then vanish when teams swapped a shaky impression routine for a reliable digital path using a Photogrammetry 3D scanner. I first encountered a robust photogrammetry dental implant workflow demonstrated at IDS Cologne, and that real-world showcase convinced me this isn’t a toy—it’s a clinical tool that changes margins and patient experience: Photogrammetry dental implant. I’ve led clinical integrations across private practices and taught implant teams how to move from guesswork to repeatable outcomes, so what follows is practical, not theoretical.
Problem breakdown: where the current workflows fail
Fit issues stem from compounding errors: impression distortion, incorrect analog transfers, and misaligned communication with the lab. These create rework loops that hit chair time and patient confidence. The harder part is that each step looks fine in isolation, so teams rationalize the status quo instead of tracing the problem to data capture. That’s why change stalls.
How photogrammetry fixes the core problems
Photogrammetry captures precise spatial relationships of implant components without relying on a physical impression. That single technical shift removes a major error source. Practically, it shortens the chain: you record implant positions, export a verified digital model, and the lab designs directly from accurate coordinates. The result: fewer try-ins, predictable screw access, and fewer emergency remakes. I’ve verified those benefits in live chairside runs and in lab feedback loops; clinicians I coached saw measurable drops in remake touchpoints within weeks.

Step-by-step adoption checklist for dentists and assistants
Start small and force-tested. 1) Map your current failure points: appointment that require remakes, common mismatch types. 2) Run paired cases: one case with your standard workflow, one with photogrammetry, keeping everything else identical. 3) Train assistants on consistent marker placement and capture sequence—consistency matters more than fancy settings. 4) Standardize your file export and lab handoff so the lab knows the coordinate format you’re sending. 5) Review the first five cases as a team and adjust the checklist. Do this and the technology integrates into your process instead of becoming another gadget.
Common pitfalls and how to avoid them
Mistakes are predictable: inconsistent marker placement, poor lighting during capture, skipping verification scans, and sending incomplete metadata to the lab. Fixes are straightforward—use a checklist, control lighting, require a verification scan before dismissing the patient, and always attach implant system metadata with the file. Don’t assume the lab will “figure it out”; set explicit file naming and metadata rules up front.
Alternatives and when to pick them
Conventional impressions still work when you want low-tech, low-cost solutions for non-complex cases. Intraoral scanning is great for soft-tissue and crown work but can struggle with absolute implant positional accuracy across multiple implants. CBCT gives bone context but not millimeter-accurate prosthetic coordinates by itself. Use photogrammetry when your priority is precise implant position transfer to the lab with minimal chairside adjustments; choose intraoral scan or CBCT where soft tissue detail or bone morphology is the primary concern.
Closing synthesis — practical value and where this leads
If you treat implant fit problems as a process failure rather than a clinical inevitability, photogrammetry becomes a targeted fix that improves predictability and saves resources. The shift is operational: tighter capture, clearer lab communication, and fewer corrective visits. Teams that adopt this method consistently see smoother workflows and better patient journeys, and that practical value is why clinics partner with SHINING 3D DENTAL when they move from experimental to standard practice.